Introduction to cold brew coffee

Summer is coming. And with it my favourite thing: ice coffee. Granted, the name is universal, but the substance served under this name can span a whole spectrum of appearances. From double espresso poured over ice cubes or long coffee over ice cream with heaps of whipped cream to espresso or regular coffee cooled in the fridge and mixed with cold milk and ice cubes. But two years ago I discovered something different: cold brew coffee. Much different than your regular stuff it looks nothing exceptional at the start – like regular, somewhat watered down coffee that was left in the fridge overnight to cool. But once you taste it, the difference is hard to even grasp. It naturally depends on the type of coffee that you use, but the main – and immediately noticeable – difference is the absence of excess bitterness. While it is still slightly bitter – just enough to be refreshing in the hot days, it is nothing compared to the regular coffee usually served. Reduced bitterness, and the different extraction process, allow for a whole spectre of fruity and nutty tastes to appear. It is absolutely hard to compare standard ice coffee with cold brewed variety – with or without the milk, cream or ice cream which naturally further mask the difference.
Different types of milk like rice, soy or coconut milk, for instance, absolutely superbly support the lightly fruity or vanilla taste of cold brew coffee and make something that I always look forward to on a hot summer day.
For me it is absolutely fabulous to walk hot summer streets with a large cup of ice cubes, cold brewed coffee, coconut milk and a little sugar. Pure bliss!
Caffeine content in cold brew coffee
Naturally the first thing that I asked myself was if the caffeine content was the same or am I drinking watered down coffee. The taste surely hints to lower caffeine content due to reduced bitterness and noticeable fruity flavors. Plus, cold brewed coffee is usually served in larger quantities than regular coffee, what made me suspicious. Turns out my fears were ungrounded – the solubility of caffeine is high – around 0,6 g per 100 ml at lowest possible liquid water temperature (0°C) which means that a standard serving of caffeine (60 mg) will dissolve in 10 ml of water at 0°C, a volume that is really low in comparison of your standard coffee serving. And mind that we are assuming that 100% extraction, which is never the case, even with hot brewed coffee. So no fears there – you always get the full amount of caffeine, provided that the extraction is long enough.
There are numerous debates on the internet what is better – hot or cold brew coffee. The debate ranges from caffeine content, effectiveness of coffee to the taste and smell. To toss in my five cents: the coffee is so strong (in terms of caffeine and effectiveness), as you make it. This means the amount of coffee beans per final volume of the drink is the determining factor for caffeine content and the buzz you will get. How you prepare it has little effect on this since the solubility of caffeine is really high and differences is the extracted amount are not more than 10-20 %. Much more important in terms of final caffeine content is the amount of caffeine in the starting beans. This can vary from around 1-2% in arabica beans and around 2-3% in robusta beans – you can see that changing the beans source, you can double the amount of caffeine!
As for the taste and smell of cold brew coffee: this is highly personal and is (in my opinion) not something to be heavily debated – it is important to try new things, but you should stick to the ones you like, not to the ones currently being advertised and praised.
Cold brew preparation theory
Well there are differences in the preparation process for cold brew coffee, but in short we can say it is a process in which you extract the soluble compounds from grounded coffee beans with cold water.
Now, let go through the details:
-
First select the coffee beans.
This is the important part since the final taste and caffeine content will strongly depend on your starting material. You can also start with pre ground beans, but usually they have already lost a part of volatile compounds, which also affects the taste. You can rest assured that the caffeine content will not change since caffeine does not evaporate and is also has fairly good chemical stability.
-
Grinding the beans is the next step.
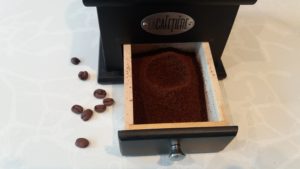
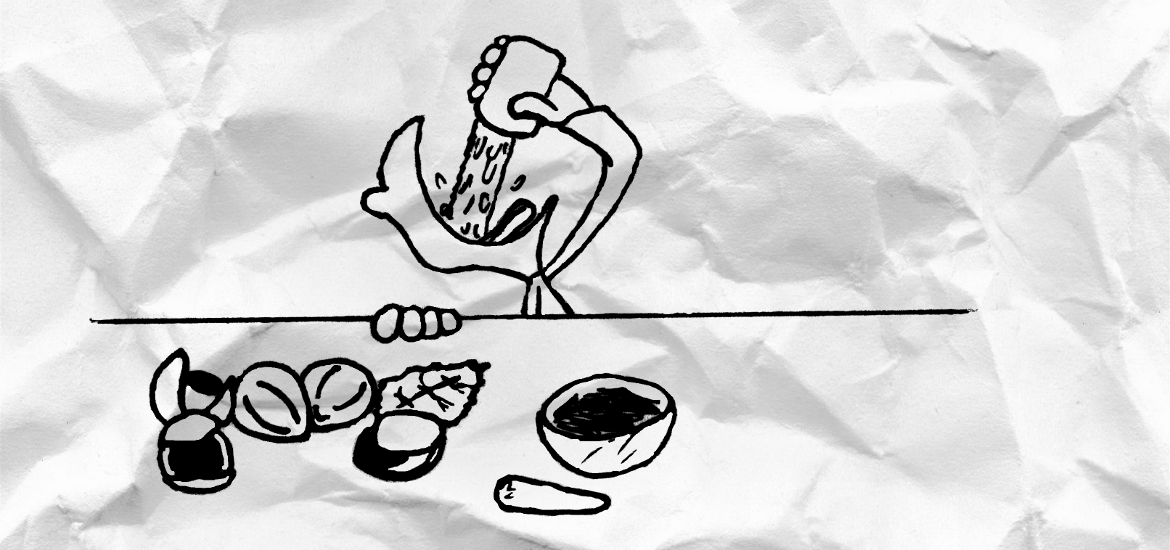
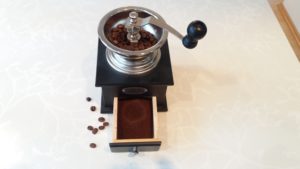
It is advisable to avoid small electric grinders, since they tend to overheat the coffee grind quickly. If you have decided to do it yourself, otherwise read this too see what to expect from your grind. The general mantra is that you should take coarsely grinded beans. In extraction theory coarser grinds will require longer extraction times than finer grinds – due to differences in the surface available for the extraction. So we cannot consider grain size alone but always in pair with extraction time – it should be longer for bigger grains and shorter for finer grains to get the same result. In practice I did not observe any big difference between finer and coarser grinds in extraction times of 24 hours – probably this was long enough for complete extraction in both cases. The most noticeable difference is the filtration step, which is easier to perform if you use coarser grains. Further to grinding, it is advisable to avoid small electric grinders, since they tend to overheat the coffee grind quickly. The result is change in taste or, in the best case, only partial loss in taste. Coarser grinds require less grinding and therefore do not overheat as much as the finer grinds. That might also explain the preference towards coarser grinds. If you are not making vats of cold brew, the best way is to grind it by hand – and you can enjoy the smell of freshly grinded coffee all the way.
-
Next step is the mixing the grinded beans with cold water.
There are two options – the simplest and usually used is mixing in a glass container (the one we are using) while the other involves a special apparatus in which the water slowly drips through the beans and will not be describe in detail. There is not much to say in regards to water – you might boil it to remove chlorine and other gases and to reduce the solid contents like calcium carbonate. So, the general preparation is simple – just mix grounded beans with cold water (cold meaning around room temperature) in a class container. The only thing of importance is the ratio of water to grounded beans – the usual recommendations as around 8 to 10 parts of water (by weight not volume!) to one part of grounded beans. Do mind that the ratio looks strongly in favour of water, but by volume the amounts are more 2 to 1 – something to consider when choosing a suitable container. The ratio is unimportant for caffeine extraction since this is more than enough water (at 0°C the ratio of around 3 to 1 would still be enough to completely extract the caffeine).
But it does influence the extraction of other components which are not so soluble but do add to the taste. With this ratio the cold brew will have a really strong taste – not suitable for most people. This is sometimes called the “concentrate” which is than used to make final cold brewed drinks. When the grinded beans and water are thoroughly mixed, just leave the mixture standing at room temperature (or fridge if you preferer) for a desired time period – anywhere from 8 to 24 hours. Again, the time is also dependent on the coarseness of grains, as mentioned above. It is advisable to shake the mixture from time to time (say every hour or two) to ensure complete extraction.
-
Final step is the separation of coffee from the grounded beans.
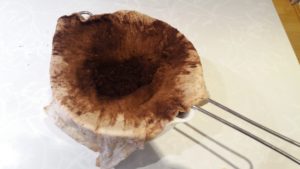
Just lay a clean cotton cloth on a support (such as a sieve) and pour the mixture through. The simplest and the most effective way is to use a cloth to filter out the coffee grounds. Just lay a clean cotton cloth on a support (such as a sieve) and pour the mixture through. When the cloth looks full, lift it up, press the upper parts together and twist it around to squeeze all the liquid out. Discard the used beans and repeat the procedure. Leave the cold brew standing is a glass bottle overnight in a fridge, then slowly pour it into another container and discard any fines that are left in the bottom. Now the cold brew is ready – you can store it in the fridge for about a month- though I doubt it will last so long in hot summer days.
For the final brew your options are limitless – you can drink the concentrate straight up, add hot or cold water, add milk, rice, soy or almond milk, brown or white sugar, alcohol (try gin!) or whatever you like or fancy at the moment. In the hot days, do not forget to add lots of ice! You can add spices directly into the concentrate and go from there – for instance vanilla stalks and almonds make a nice addition and base for all further experiments.
Making cold brew coffee
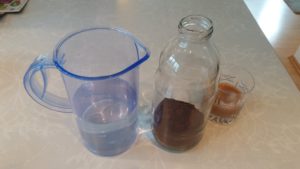
Ingredients and amounts per 0.5 liter of concentrate:
- 70 g of coffee beans or grounded coffee
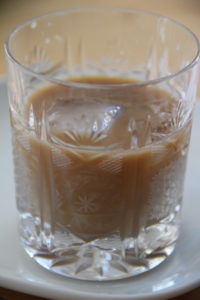
You can store the concentrate in the fridge for up to a month. - 630 g of water
- glass bottle, clean cloth, sieve, container to hold the cold brew during filtration
- Lots of ice
- Additives by choice (I recommend rice or almond milk)
First, ground the coffee beans (grain size it not critical – smaller the size, faster the extraction but filtration will be more demanding). Next, add the grounded beans and water into glass bottle.
Leave standing for 8-24 hours (longer the time, stronger the taste – caffeine content will be similar in both cases).
Shake occasionally (every 2 hours is more than enough).
Filter the content through a clean cloth.
Leave in the fridge during the night and on the next day slowly decant the cold brew coffee from the fines, which could not be filtered out and did settle on the bottom.
You can store the concentrate in the fridge for up to a month. Enjoy!
Image credit: Amazing food
