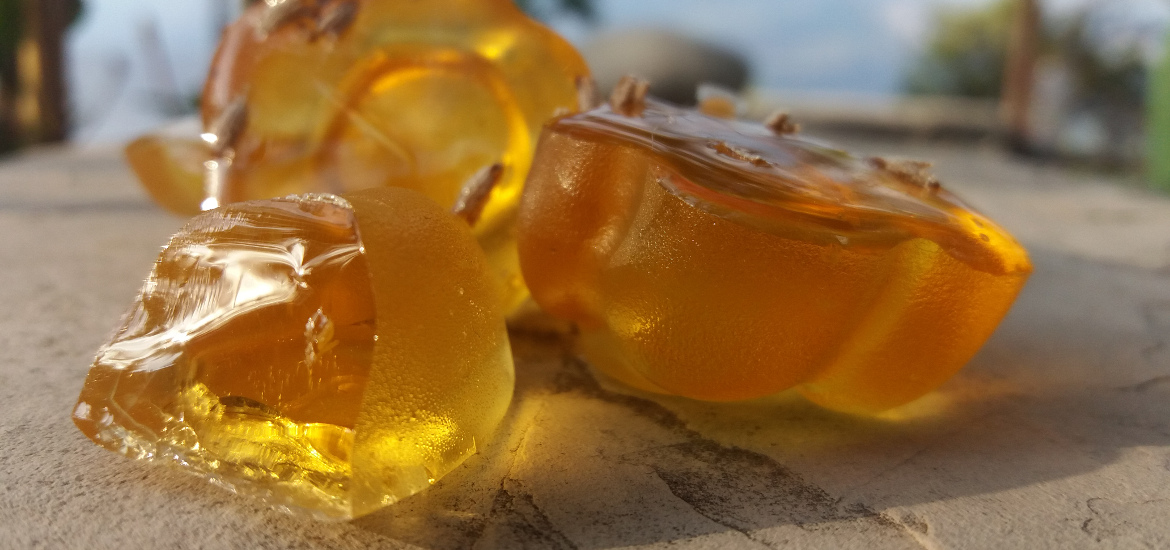
Making beer today is fairly simple – you can use a starter kit and basically brew any kind you like. With relatively little knowledge or work you can make excellent beers. But how to make a “wartime beer”, without any starter kits or buying ingredients?
The idea of making a Wartime beer
But what if you would be reduced to basics? How did they make beer 100 or 1,000 years ago? What if you could not buy any beer starter kits? How can you make beer in wartime or during a zombie apocalypse? This question was really intriguing and after finding a really simple and straightforward recipe I decided to give it a try.
The theory of beer brewing goes in principle like this: take some barley, soak it in water until it starts to germinate, dry it, grind it, cook it, add hops and yeast, allow to ferment – finished.
If you want some foam in your final beer you can pack it in bottles shortly before it stops fermenting, or – more recent improvement – prime the bottles by adding a little bit of sugar into each bottle filled with completely fermented beer. Beer in ancient times had no or very little foam, since an airtight vessel is required for storing. That is basically all you need to know to make a beer, so forward to the details.
Wartime beer – First step
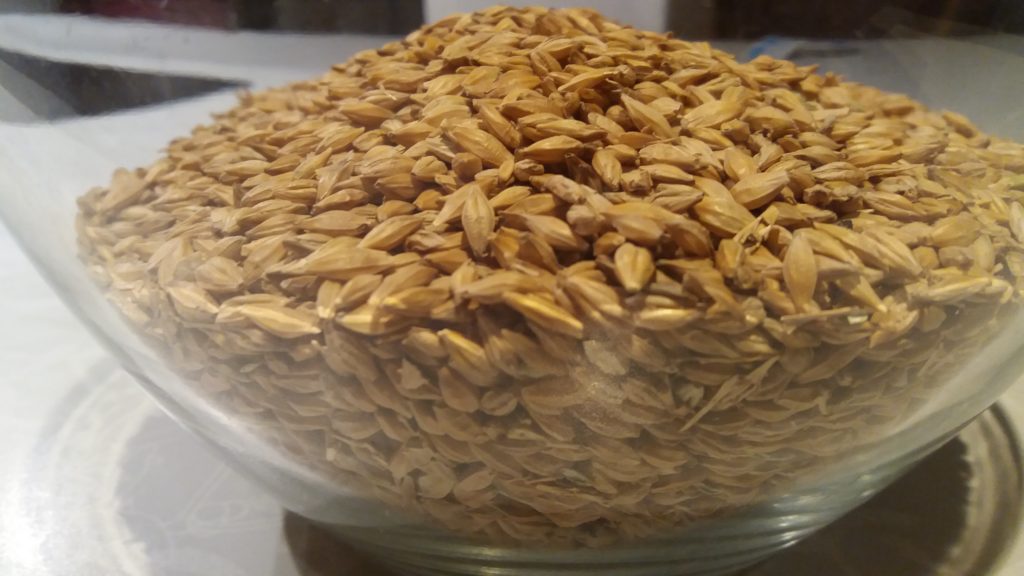
First step is germinating and drying the barley, which is then called malted bar – making malted barley. Obtaining the barley was fairly simple – it’s sold as cattle feed or as whole grain in health shops. My recipe simply stated “put barley in water and it should start to germinate after 7 days”.
Germinating barley seeds for Wartime beer – first attempt
I took 1 kg of barley, put it in a large bowl and covered it with water. The barley was around 1 cm below the water surface. The water was gone when I checked 8 hours later, so I covered it again with water.
After around 2 days barley still showed no signs of germination, but it did start to smell awful. So I check the internet and found out that I have effectively drowned my seeds and they probably started to decompose. The germinating instructions on the internet are different and sometimes quite complex, so I started new process with my idea of germinating seeds.
Germinating barley seeds for Wartime beer – second attempt
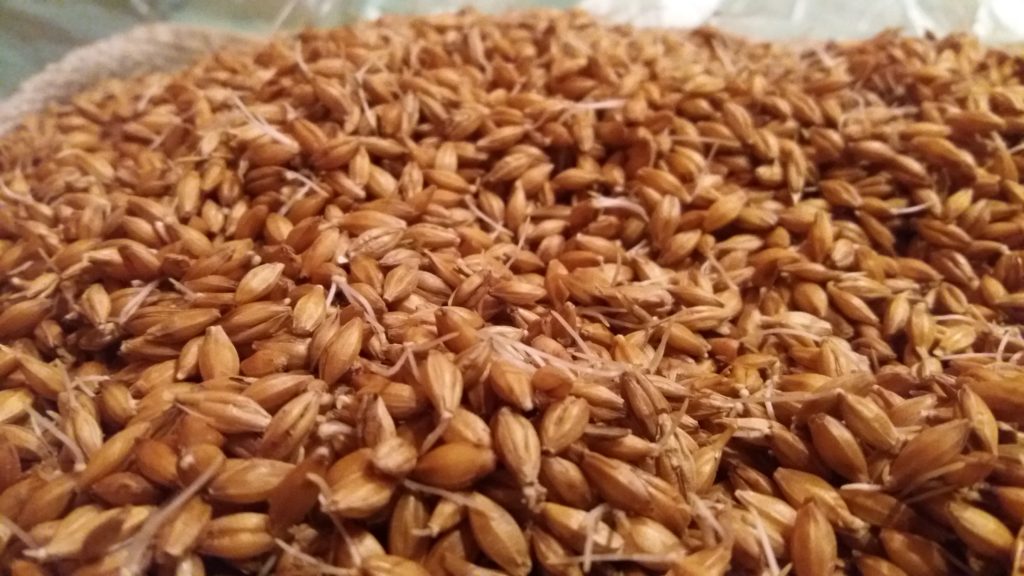
Again I took 1 kg of barley, put it in a bowl and covered it with water like in the first try. After around 8 hours, the water was again gone (soaked up by the seeds). Then I spread the seeds on a wet towel, about 2 cm thick and left it overnight. In the morning I just mixed the seed a little bit and poured some water (around 1 deciliter) over the seeds. Next day I repeated the process.
And behold! The seeds started to germinate and on day four I decided they are exactly right. The young roots were about one half of the seed length. The recommended length is around half to full length of the seed. Since I did not have the time in the morning I figured that a couple of hours would not matter much. But in the afternoon the young roots were about twice the length of the seeds!
The germination speed was really impressive (check the picture to see the exact length of the roots)! Anyway, I spread the seeds about 1 cm thick on a cardboard. This helped dry the seeds quickly and they stopped growing practically instantly. In two days on a warm and dry place they were almost dry.
The seeds should be dry (residual moisture should be low, e.g. below 4%), particularly if you do not use the malt right away and to enable the grinding of the seeds (otherwise the seeds are too elastic). A really easy way to determine your residual water in the seeds is by weighting them – if you have 1.1 kg and you started with 1.0 kg then you have approximately 10% of residual water (assuming starting seeds were basically dry and you did not lose much seeds during the process).
Wartime beer – Step two – Making the Wort
Preparing the wort – that is water extract of sugars from barley – is also fairly simple. First malted barley needs to be grinded to extract the sugars faster and more completely. There are fairly cheap roller mills available which can be driven by a motor or simple power drill and – more important for times of restrictions and zombie attacks – by hand.
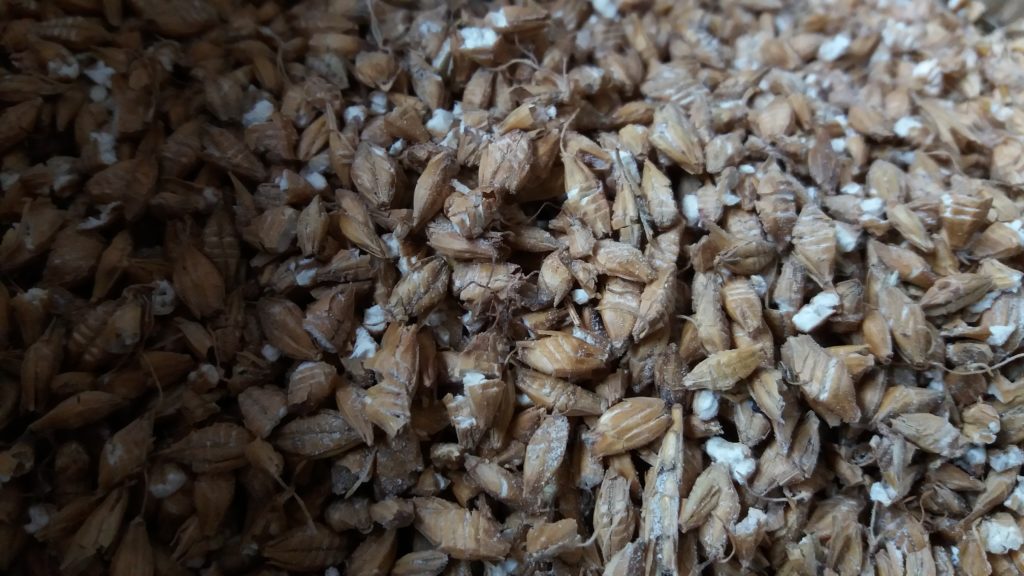
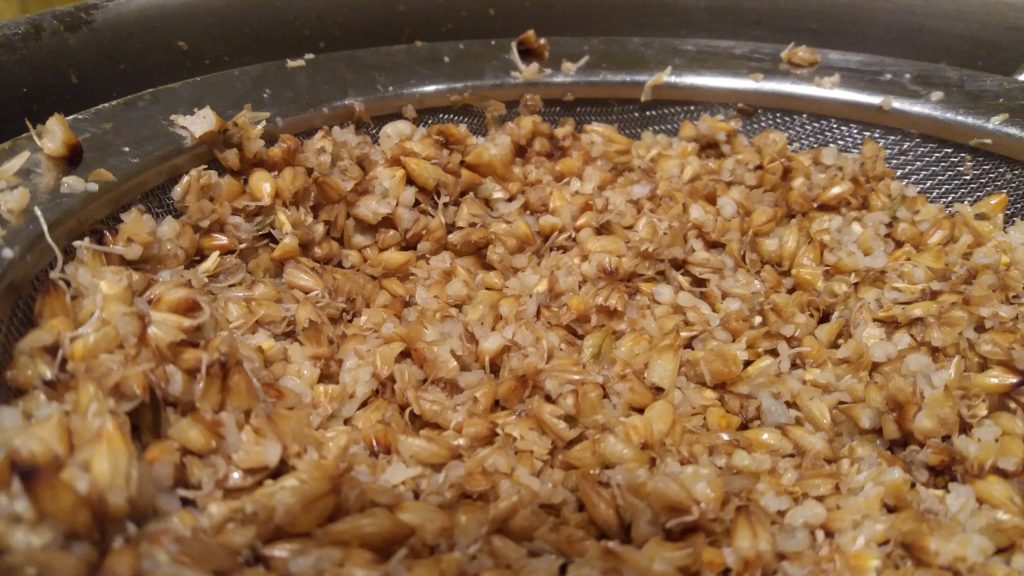
There are also other ways to grind the malted barley. The most primitive, but effective is using two stones as an improvised mill. The thing is that we do not need fine flour used for baking, we just need cracked seeds (look at the picture below to see how what I mean by cracked).
Therefore, you can also use a knife to chop the seeds or a hammer and an anvil to crack them. Even some dirt or stray particles in the seeds are not problematic – this will all get filtered out during wort preparation.
Cooking the seeds
Next, the seeds are cooked at predetermined temperatures to activate the enzymes. This is a stepwise process, in which the enzymes are first activated and then used to cut the starch coming from the barley into fermentable sugars.
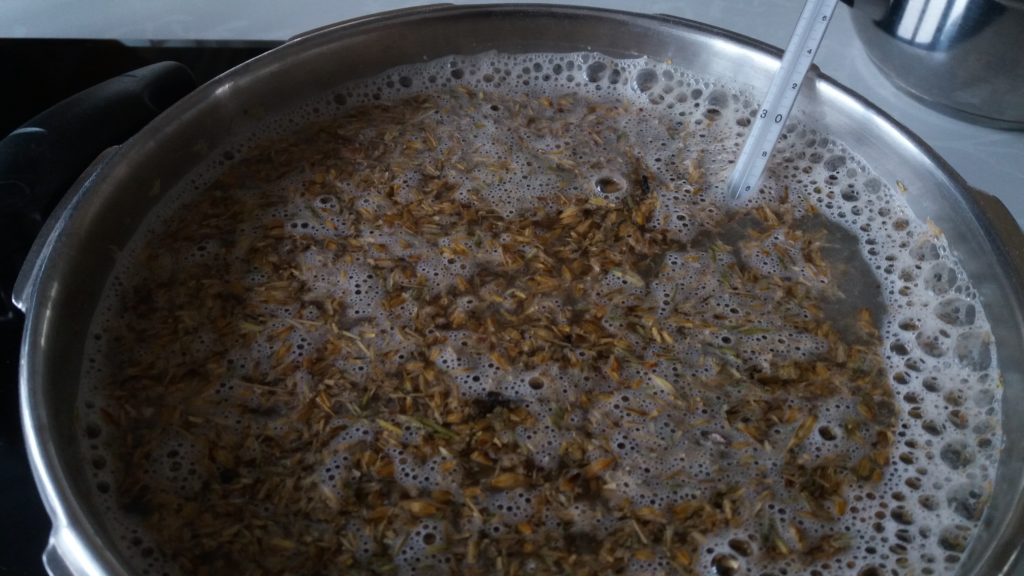
The basic principle is explained here, the heating steps which I followed were:
- 20 minutes at 35 °C (to wet the malt and get the enzymes started)
- 30 minutes at 50 °C (optimal temperature for degradation of proteins in the malt)
- 20 minutes at 60 °C (optimal temperature for preparation of beer with clear taste and high alcohol)
- 25 minutes at 63 °C (optimal temperature for both sweet taste and high alcohol)
- 25 minutes at 72 °C (optimal temperature for preparation of beer with sweet taste and low alcohol)
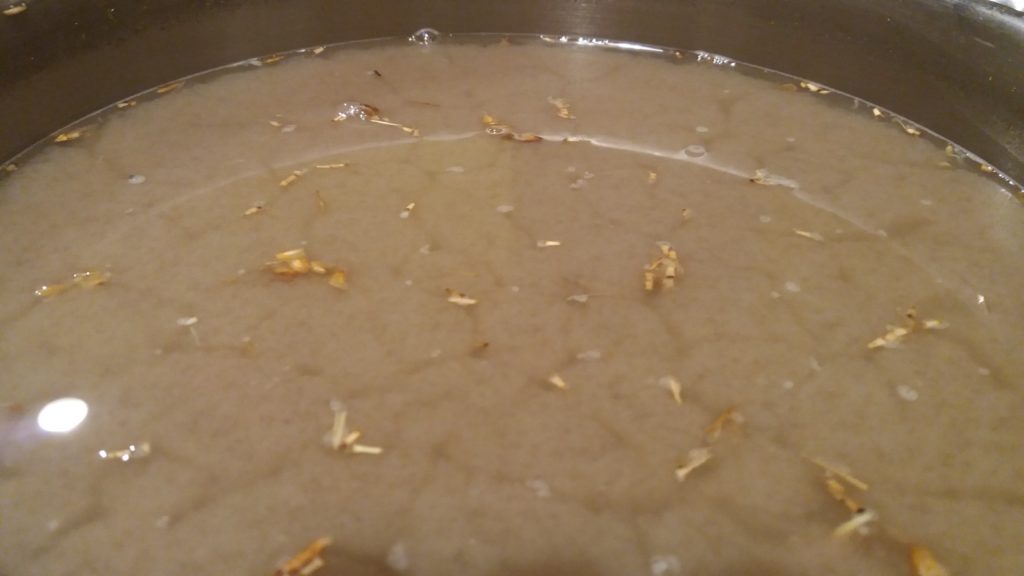
This is fairly easily done if you monitor the temperature with a common thermometer. The temperatures are relatively low and water does not change temperature quickly. For the heat source it is enough to turn it on/off (or to remove the cooking pot) to be able to hold the desired temperatures. The temperature variations around set temperature of +/- 2 degrees are perfectly acceptable.
What to do if there is no way to measure the temperature?
Like in case of wartime or extreme laziness? The best solution is to use two temperature settings: activating the enzymes at 35 °C. At this temperature when you touch the wort it should be tepid. If it feels hot then it is already too hot.
Next temperature is 60-70 °C. At this temperature you can still touch the water but it feels really hot. The times are approximately 10-30 minutes at 35°C and 45-90 minutes at 60-70 °C. For the second step it is better to keep the temperature at the lower end. You will get more alcohol in the final beer and you will not destroy the enzymes required to prepare the wort (they are irreversibly destroyed above 76 °C).
Filtering the seeds
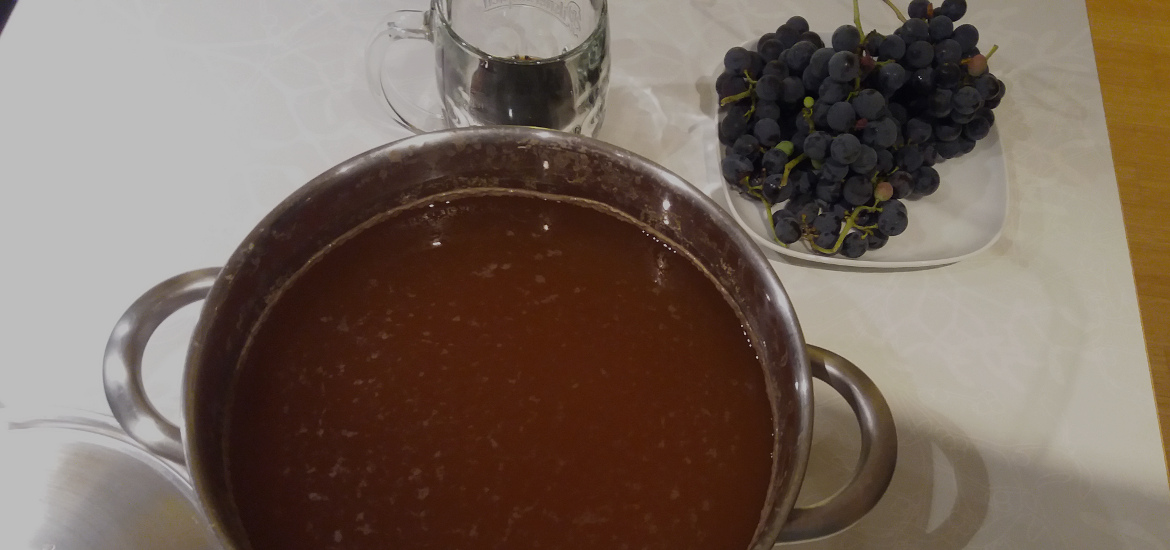
When the cooking process is complete, the wort needs to be filtered. Using a simple sieve is enough, since the seeds by themselves provide a relatively good filter (see picture below). You should rinse the seeds on the sieve with hot (70 °C) water to wash off all the sugars.
Next comes the final cooking to get the wort. Add hops (around 7 g of dried hops per 1 kg of malted barley) and cook (boil) for 1.5 hours. The hops should be in a linen bag (or similar), so it is easily removed after cooking while still releasing the aroma. At the end of the boiling the vessel should be covered in order to prevent contamination with unwanted bacteria or yeasts – a hard cover works best in my experience. Allow the wort to cool – you can use a water bath to speed up the process.
When the wort is cooled to room temperature, remove the hops – just take the bag out, or filter through a rough cloth. Filtering in my experience is quite messy due to blocking of the cloth with fine particles and it also increases chances of contamination with unwanted bacteria and yeasts. Your wort is now prepared for the final step in the process.
Wartime beer – Step three – Brewing and Filling
Now it’s time to add brewing yeasts. Even in war time you are bound to have a sachet of dried yeast (put one in storage now – it is small and lasts almost indefinitely). Alternatives in time of need or surprised alien attacks would be bread dough or just opening the lid and allow wild yeasts to fall in. Although this could lead to very variable and strange tasting results. But you will get an alcoholic beverage in the end.
Now allow the wort to ferment. At the beginning you can clearly see fermentation through bubbles and foam forming on top of the wort. At the end there are practically no observable signs, but you should wait nonetheless. Typically fermentation is finished in 5 to 7 days at room temperature (around 20-25 °C).
When the brewing is over, you have the final beer (minus the bubbles), which is stored in bottles. This is fairly logical but nevertheless: bottles should be clean and properly sanitized (e.g. with peroxide cleaners or boiling water). If you would like some foam, you can add sugar. For exact amounts use the beer priming calculator, or approximately one teaspoon of table sugar per bottle.
Want some foam in your Wartime beer?
You can add the sugar directly into bottles or you can mix it in the whole batch before filling into bottles. Just allow enough time for sugar to dissolve and disperse evenly when adding it into the batch – usually the sugar is dissolved in small amount of water, poured into the batch, mixed and left standing for around half an hour.
In case you do not have any sugar handy you can use anything with sugar in it. Your starting wort, for instance. You should take some wort directly after boiling it with hops and store it in a suitable, well closed container. A pot with hard over is totally OK. The trick is that you prevent any yeast or bacteria to come into contact with the wort, in order to preserve the sugars it contains until you add it to the bottle. Keep in mind that the amount of wort you need to add is now greater than pure sugar and dependant on your sugar content, which you do not know. I recommend taking 50 to 100 milliliters of wort per bottle.
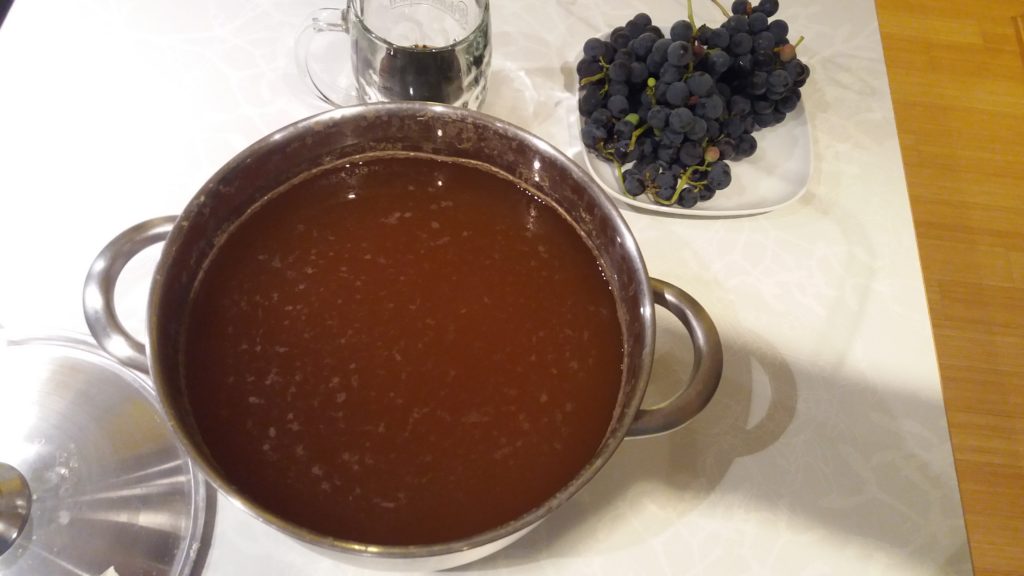
Wartime beer process is almost finished…
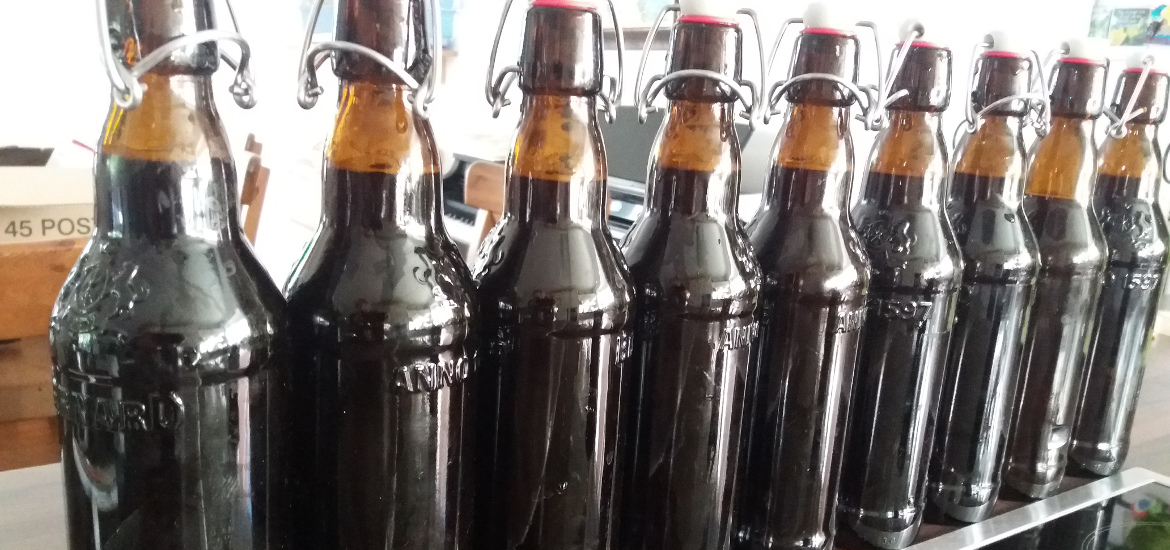
When filling the bottles, take care to fill as little as possible of the sediment which has settled in your brewing vessel. It is not critical, but some sediment will form anyway and if you are not especially keen on the sediment, do try to keep it to a sensible level. A simple funnel is more than enough to fill the bottles since the bear does not foam. Again, watch for the sediment. Caps (closure) are the final thing. Usually crown caps are used but since they are single use a more reusable solution for dire times is recommended. Flip-top caps are perfect in this sense. As long as the bottle is airtight and can withstand moderate pressure from inside, you should be ok.
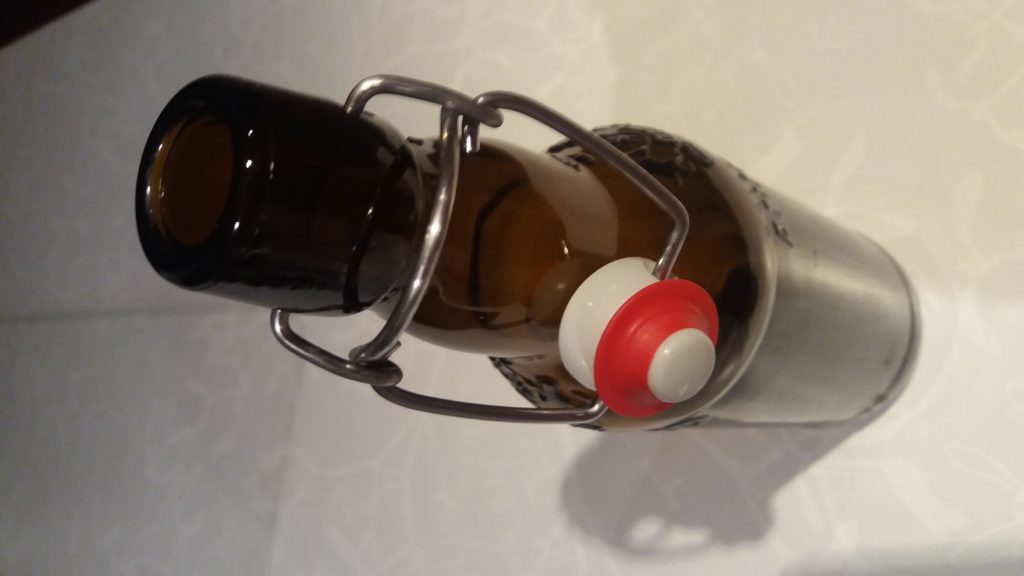
The last step is the the easiest one. Allow the beer in the bottles to mature (at least for 4-7 days) and – enjoy your well earned Wartime beer, you definitely need it during this war time, zombie apocalypse or whatever.
Making a Wartime Beer – Final thoughts
I brewed a test batch as described above. First I steeped the barley which I got from the local farmer and milled it with a simple roller mill. The seeds were more elastic compared to the purchased malted barley, which I attributed to too long germination time.
Next I prepared the wort by cooking the barley and adding hops as described above. This is the longest step and needs to be done in one go. It took me around 5 hours. After cooking and cooling I filtered everything and added dried yeast for brewing. First three days the brew was quite active than it settled down with no visible bubbles.
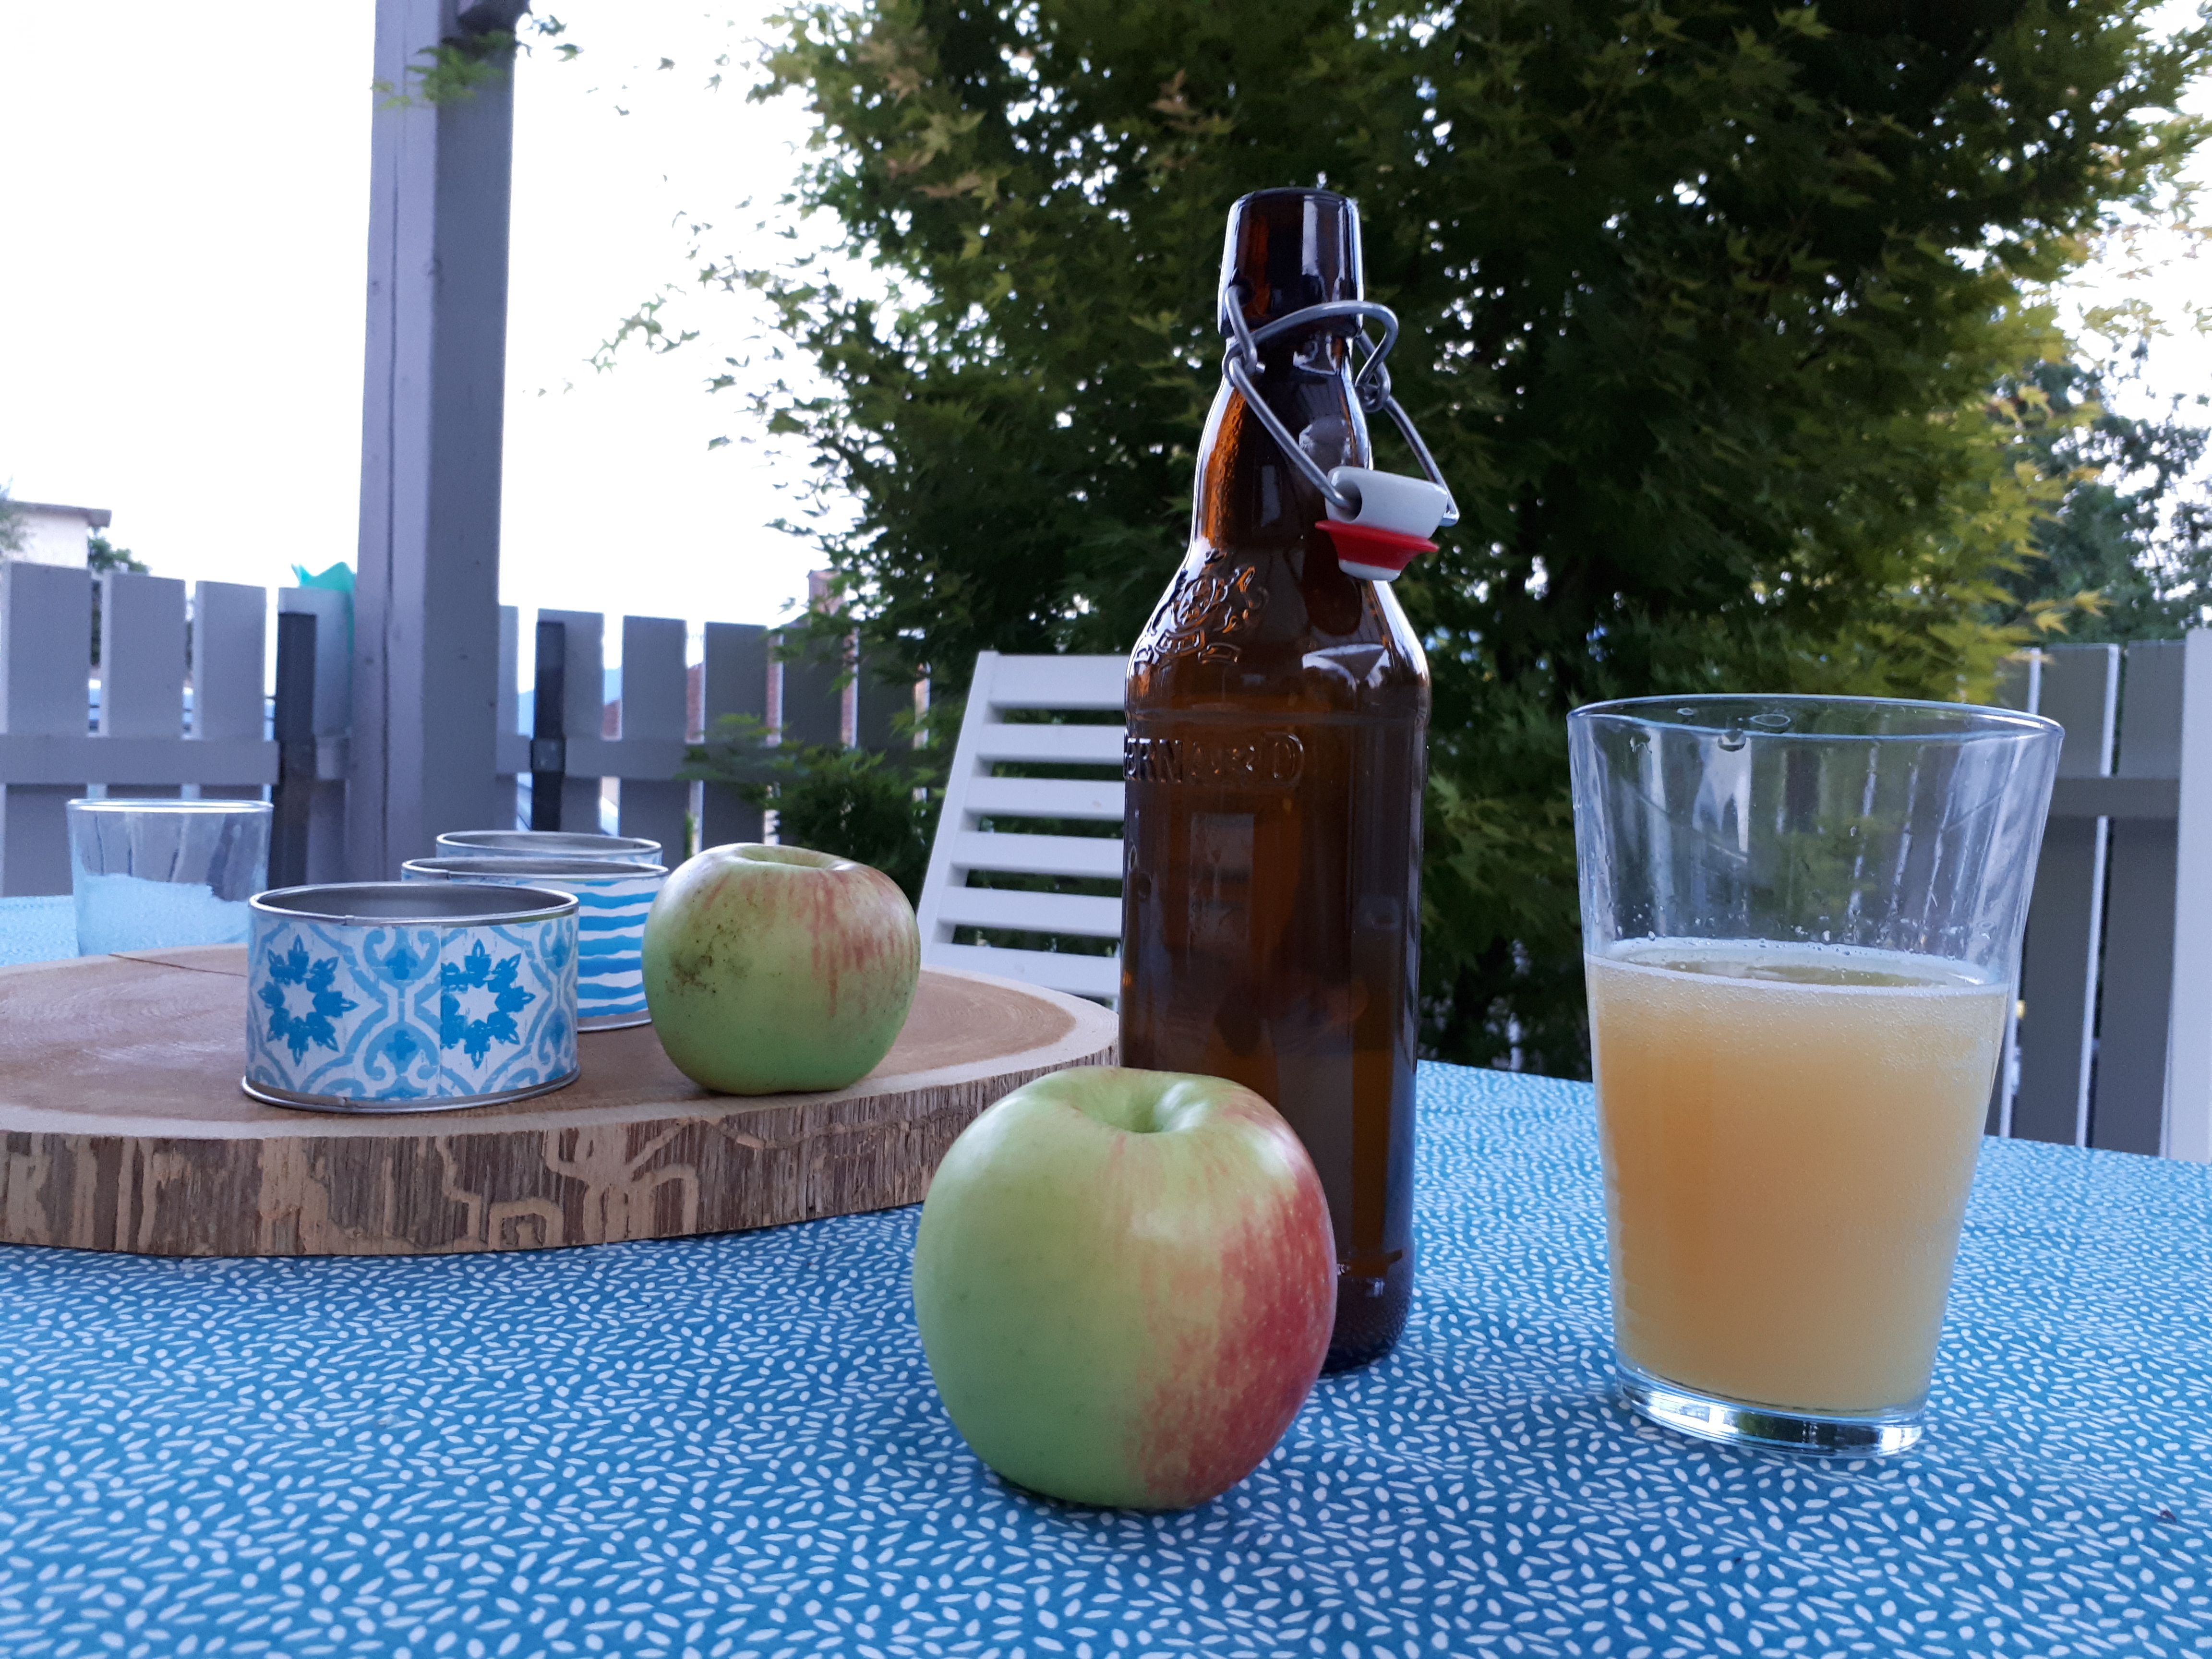
Finally I added some table sugar and filled the beer into bottles. After seven days the first tasting was in order. Frankly I did not expect much since I followed no detailed recipe. I used only one type of home made malt and added hops only once by the gut filing. I was therefore pleasantly surprised when the beer turned out to have nice foam and light, pilsner like taste. Somewhat bitter, but nevertheless.
All in all, I believe I do not have to worry if one or other apocalypse comes along. I could still probably get a nice drink, which would be at that time something of the highest importance.
Image credit: Amazing food
